Upgrading with a new processor and hard drive
When I started with photography the dark room was the second-best place to spend time. At least for me those dark room days are long time gone and today I do almost all work with a computer. I even have my camera and my microscope controlled by computer. So, a malfunctioning computer can have the same disastrous effect on the work as a flickering light bulb in the darkroom.
This week, I had to fix a computer and used the opportunity to upgrade the motherboard, processor and hard drive. I decided on the quite new AMD Ryzen 7 3700X Processor with 8 cores / 16 threads and found it in an upgrade package from Webbhallen with the ASUS ROG STRIX B450-F motherboard.
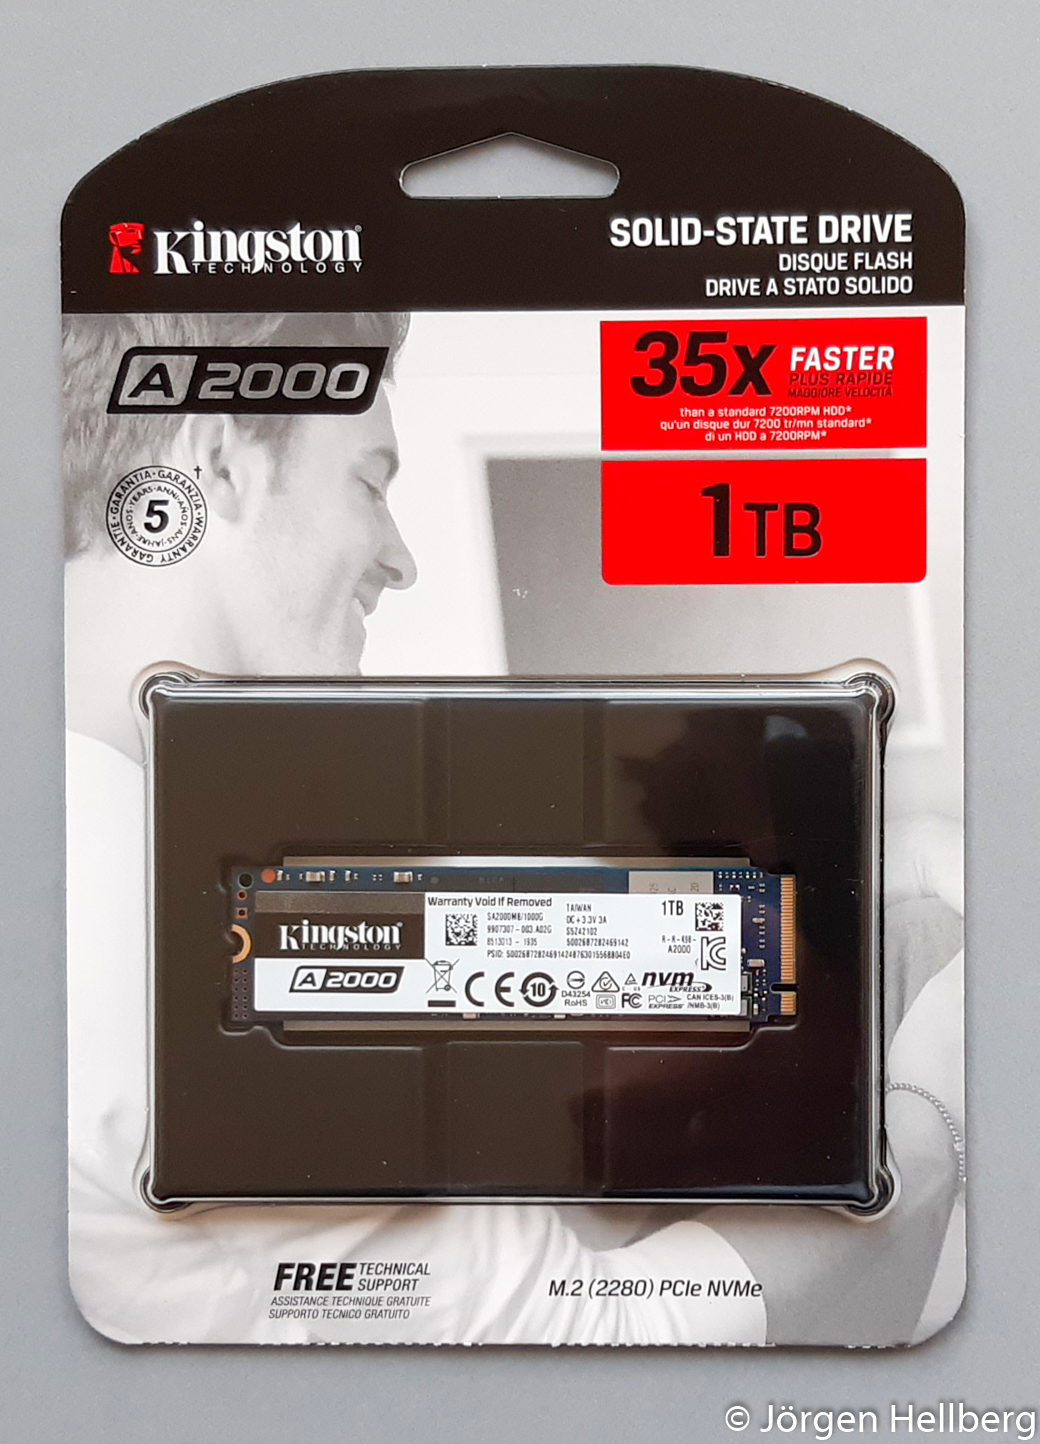
I also wanted to upgrade my internal hard drive to an PCIe SSD. My choice fell on the 1 TB Kingston’s A2000 NVMe PCIe SSD that seems to be a good compromise between speed, storage and price.

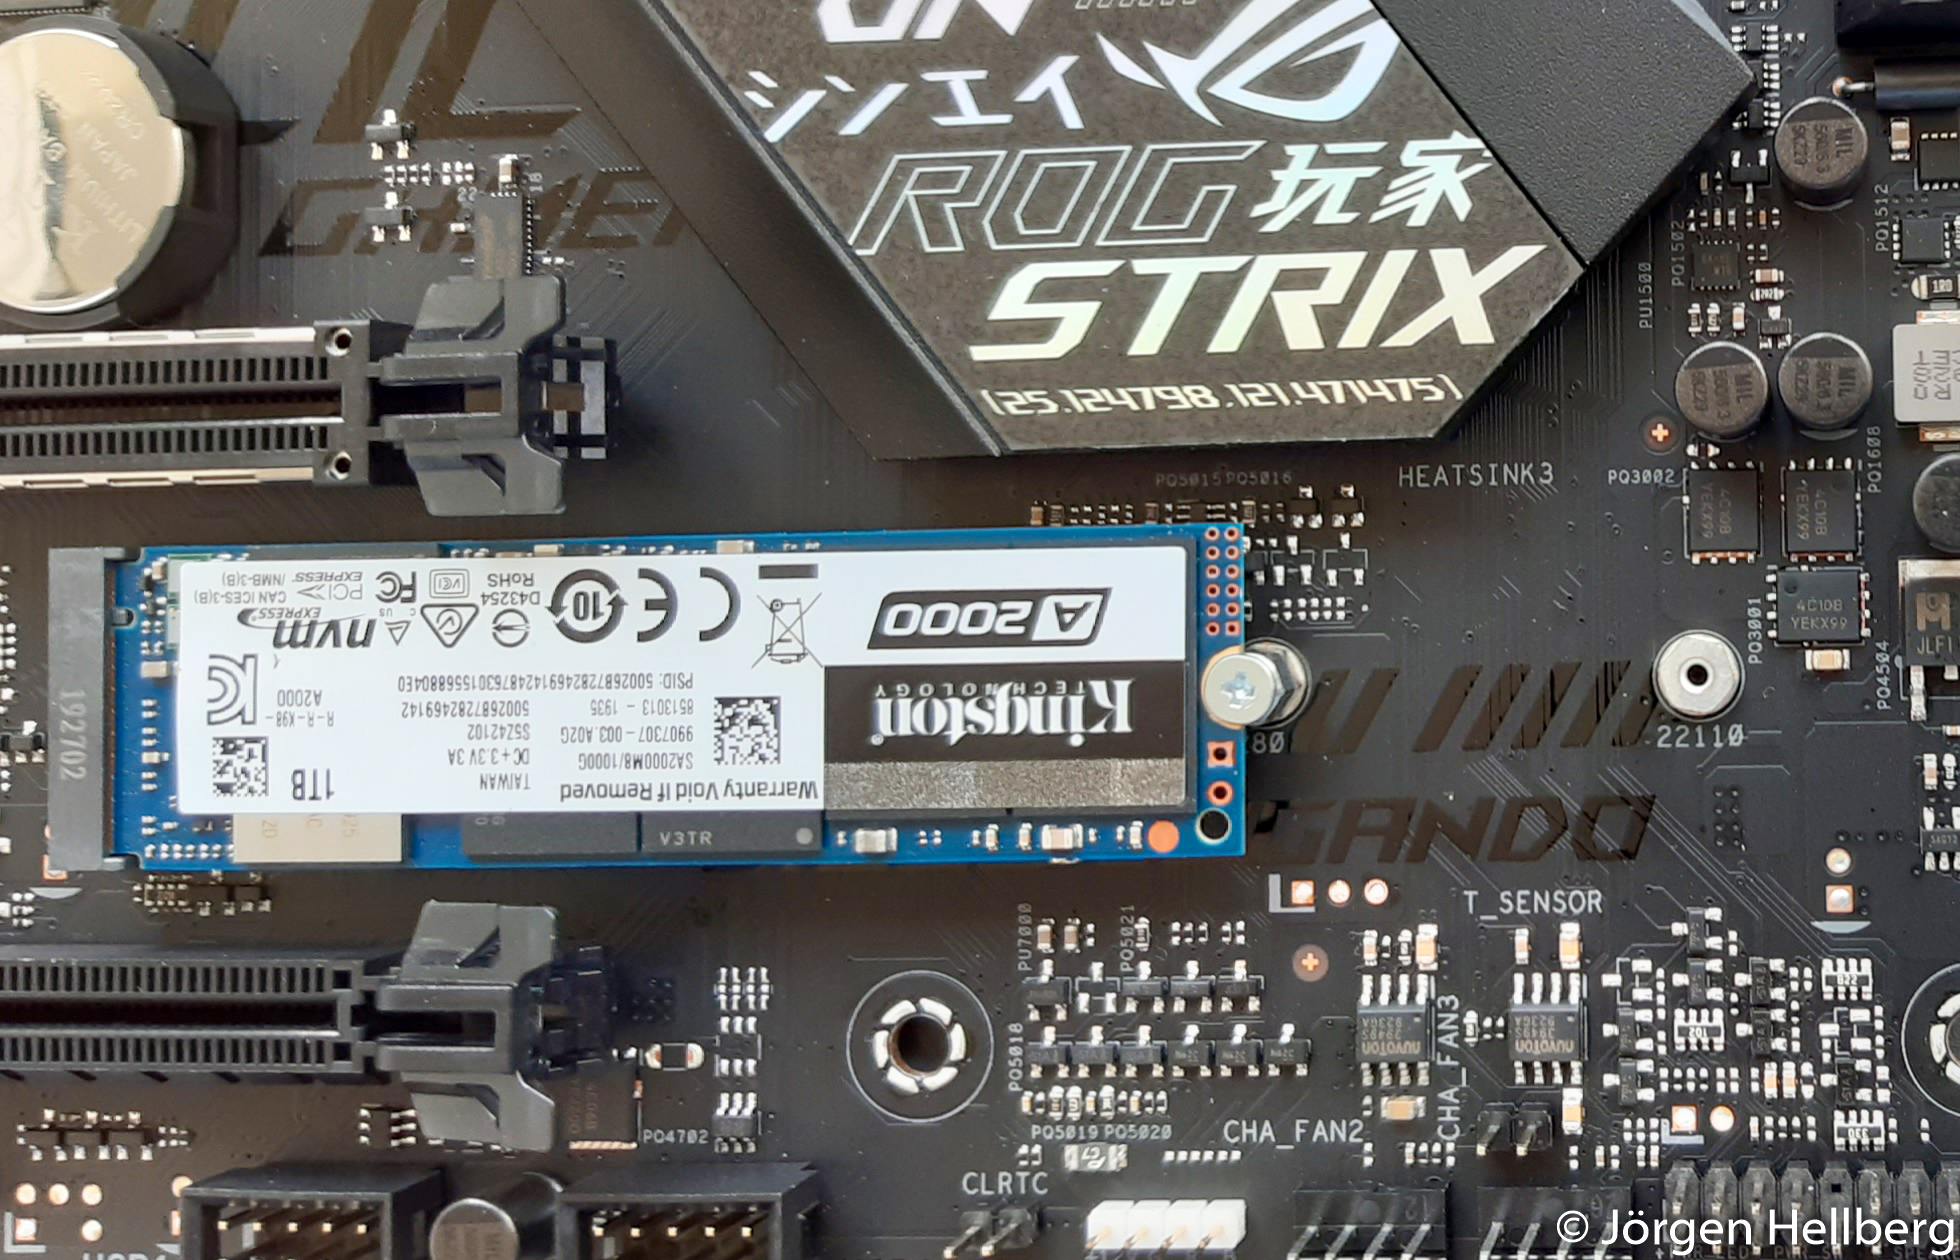
Picture to the left shows the layot of the motherboard. There is two slots for M.2 / PCI-E cards.
Installing the AMD Ryzen 7 processor
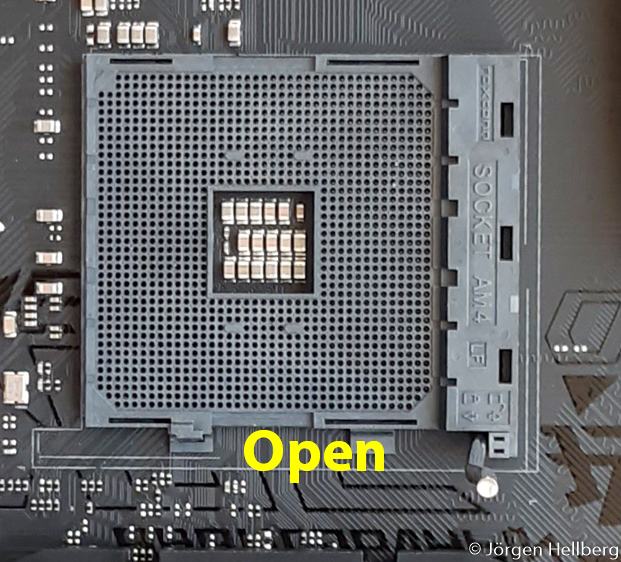
The first step is to open the lever beside the socket. The second step is to place the processor on the socket and close the lever. The brackets are there to hold the CPU fan
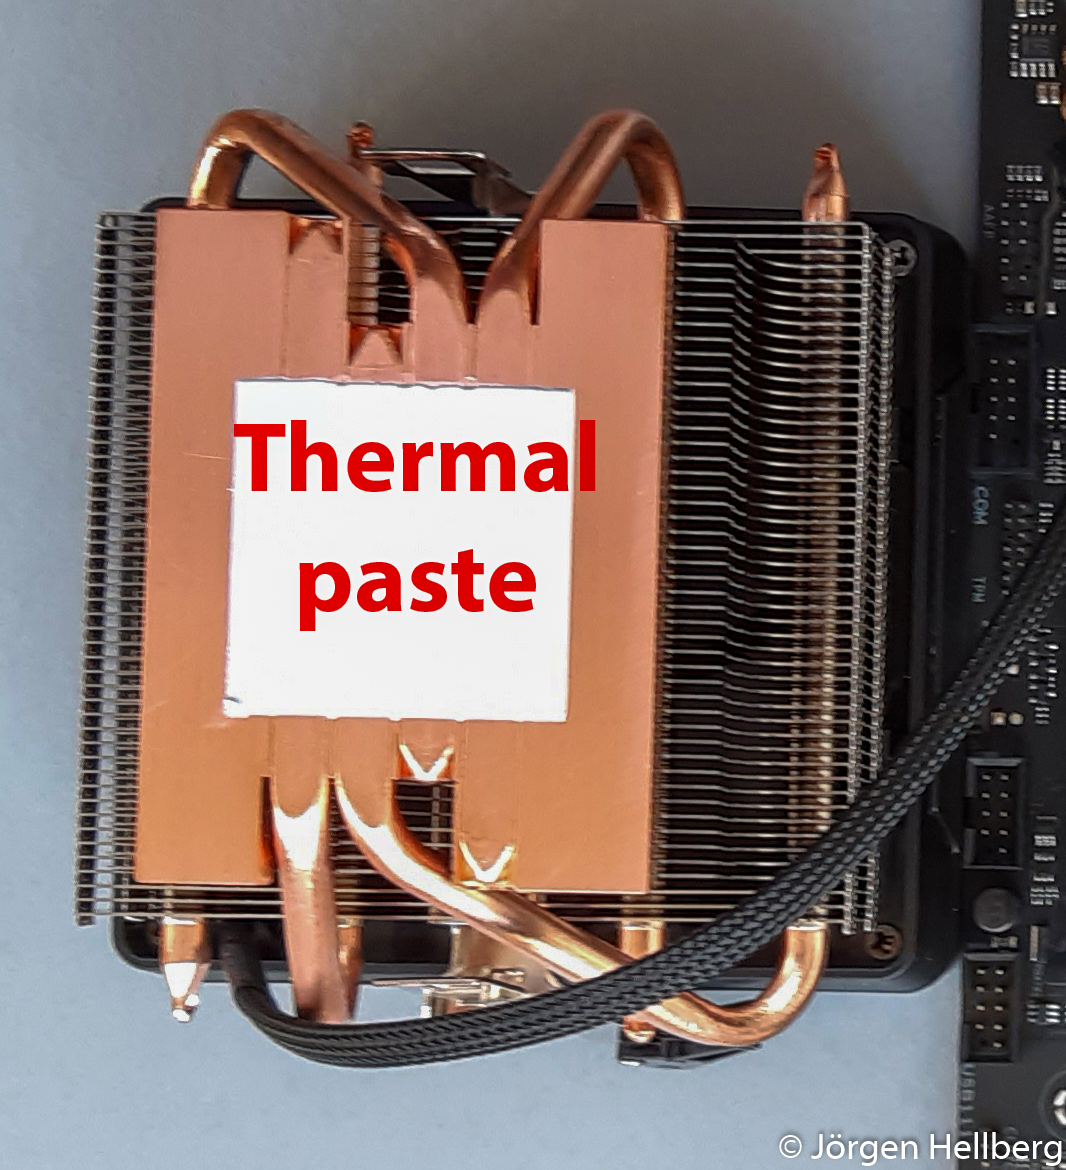
The processor comes with the AMD Wraith Prism LED RGB Cooler Fan. The fan comes with thermal paste already in place. Be careful placing the thermal paste part of the cooler on the processor. The salesman at Webbhallen told me that there have been customers that have had problems.
Attach the clamp without the lever then the clamp with the lever. After that close the lever and the cooler is in place.

Attach clamp #1 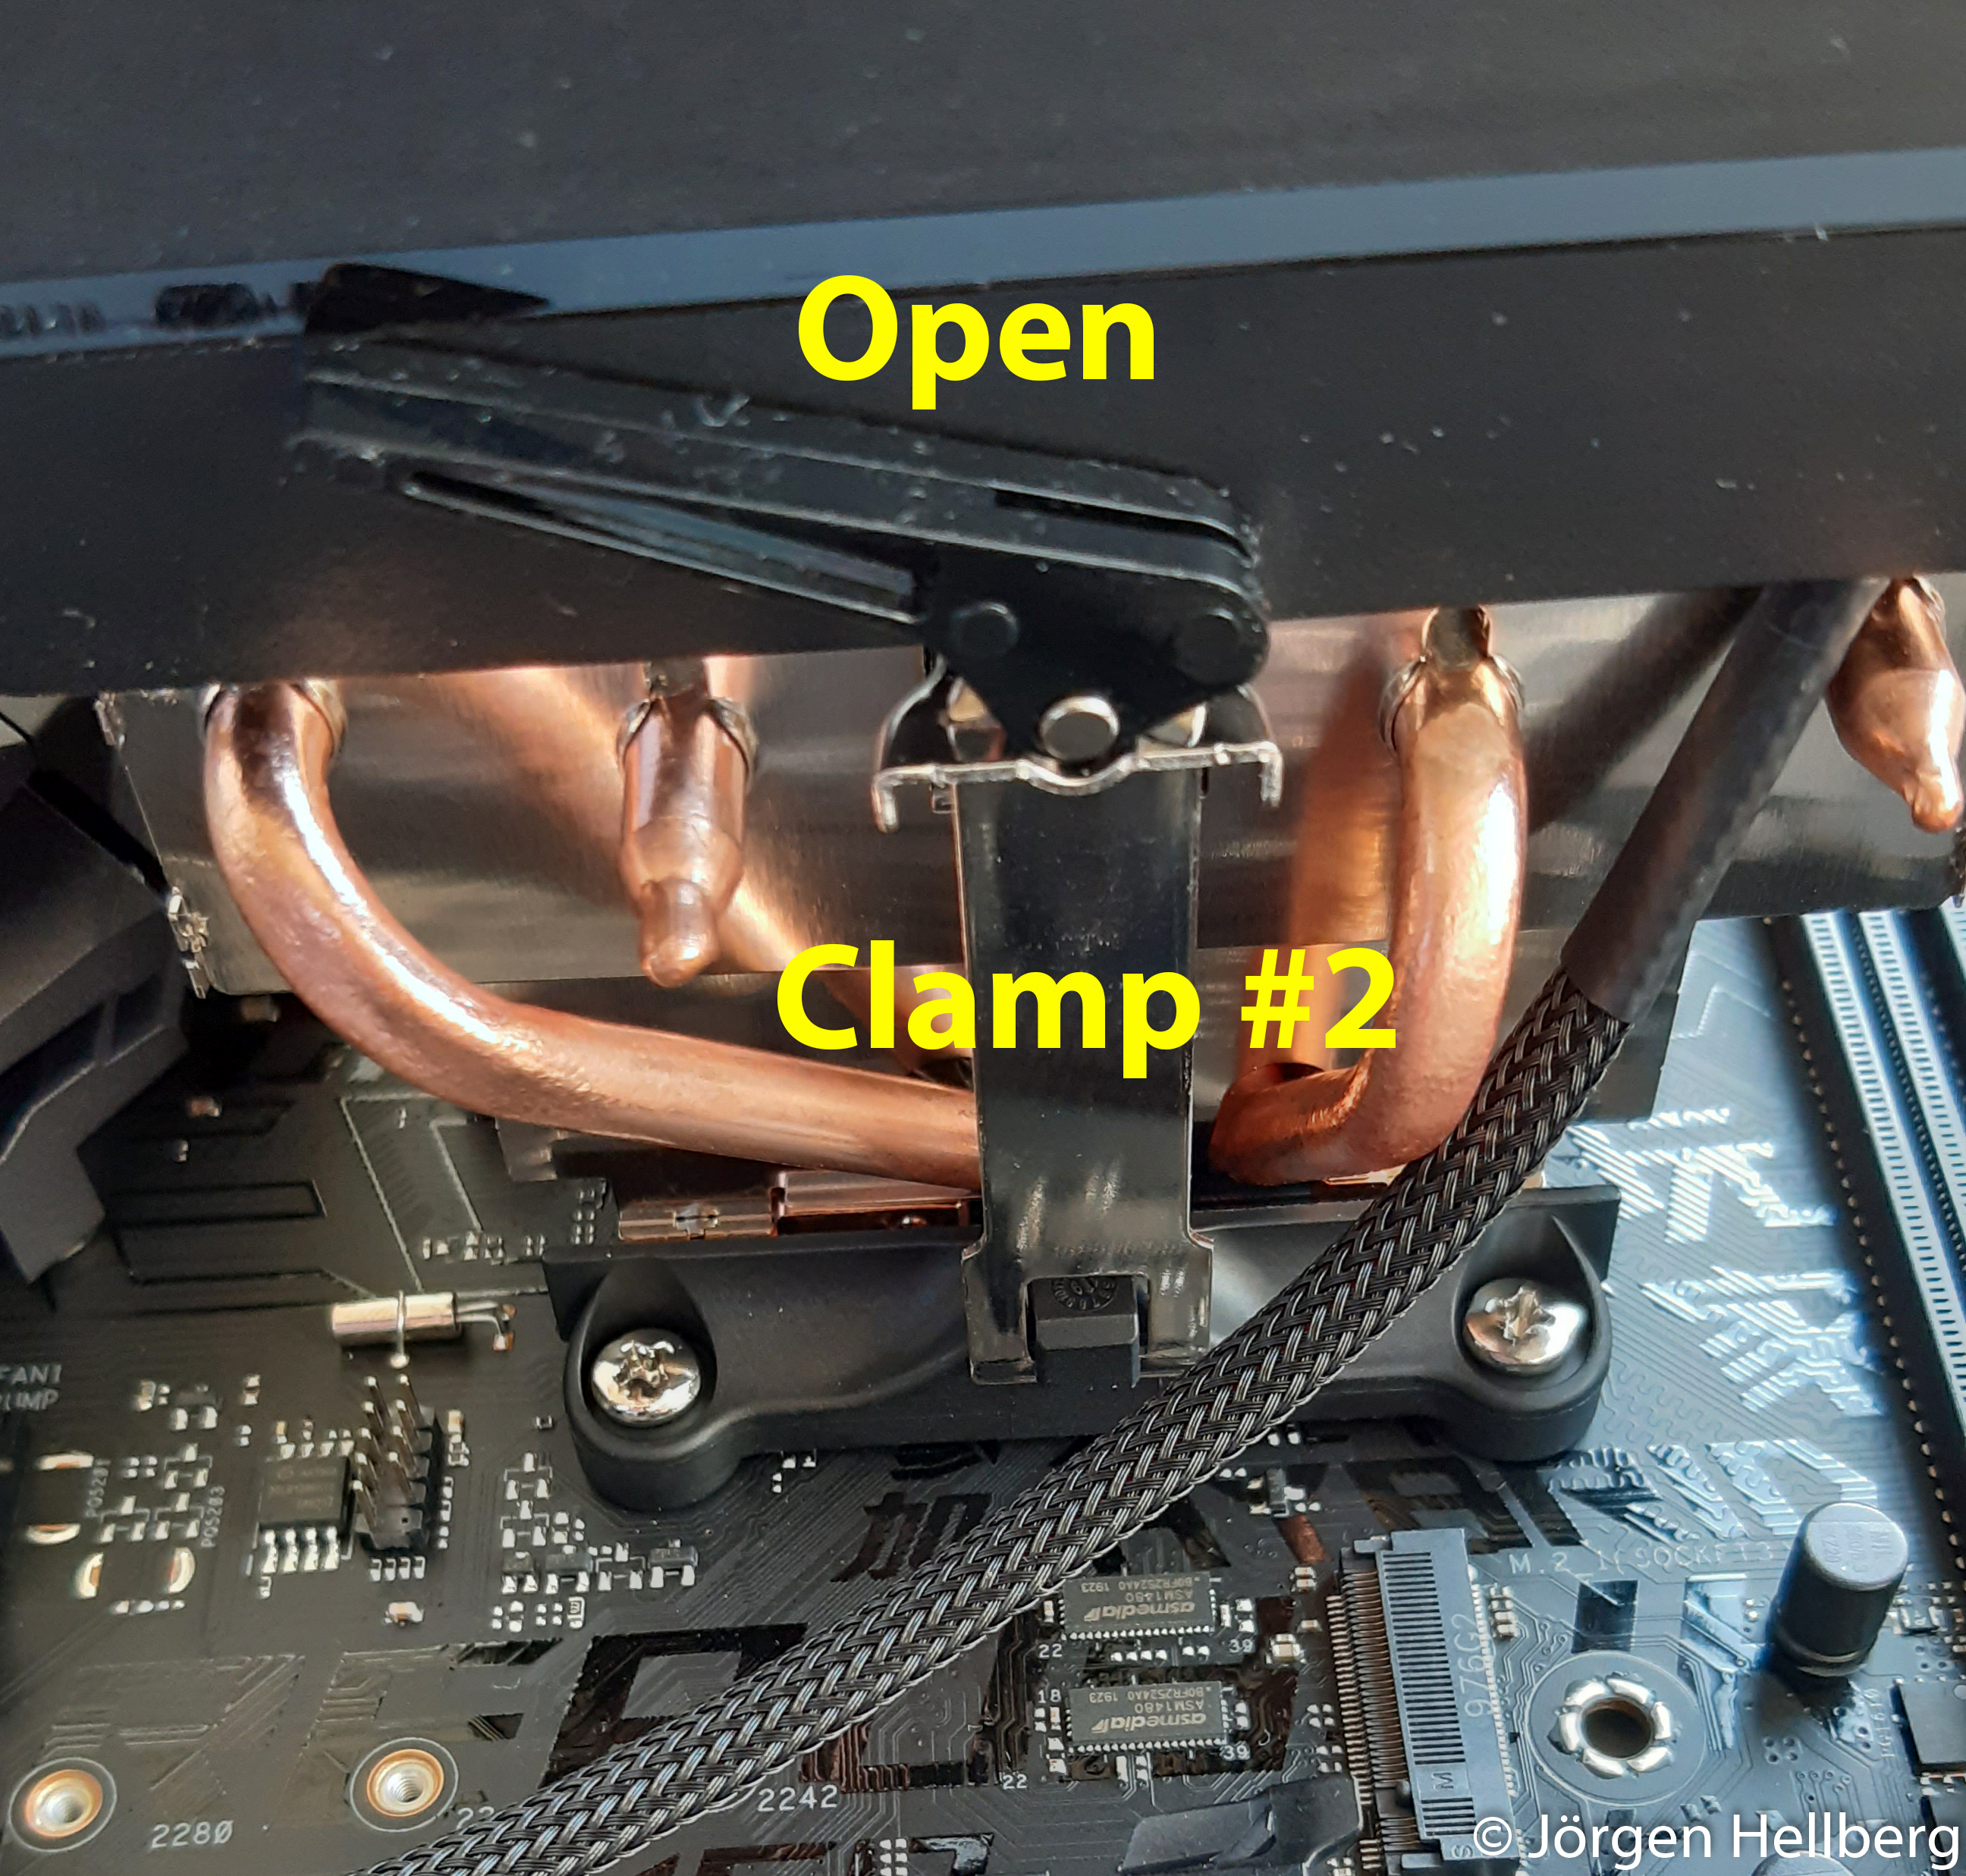
Attach clam #2 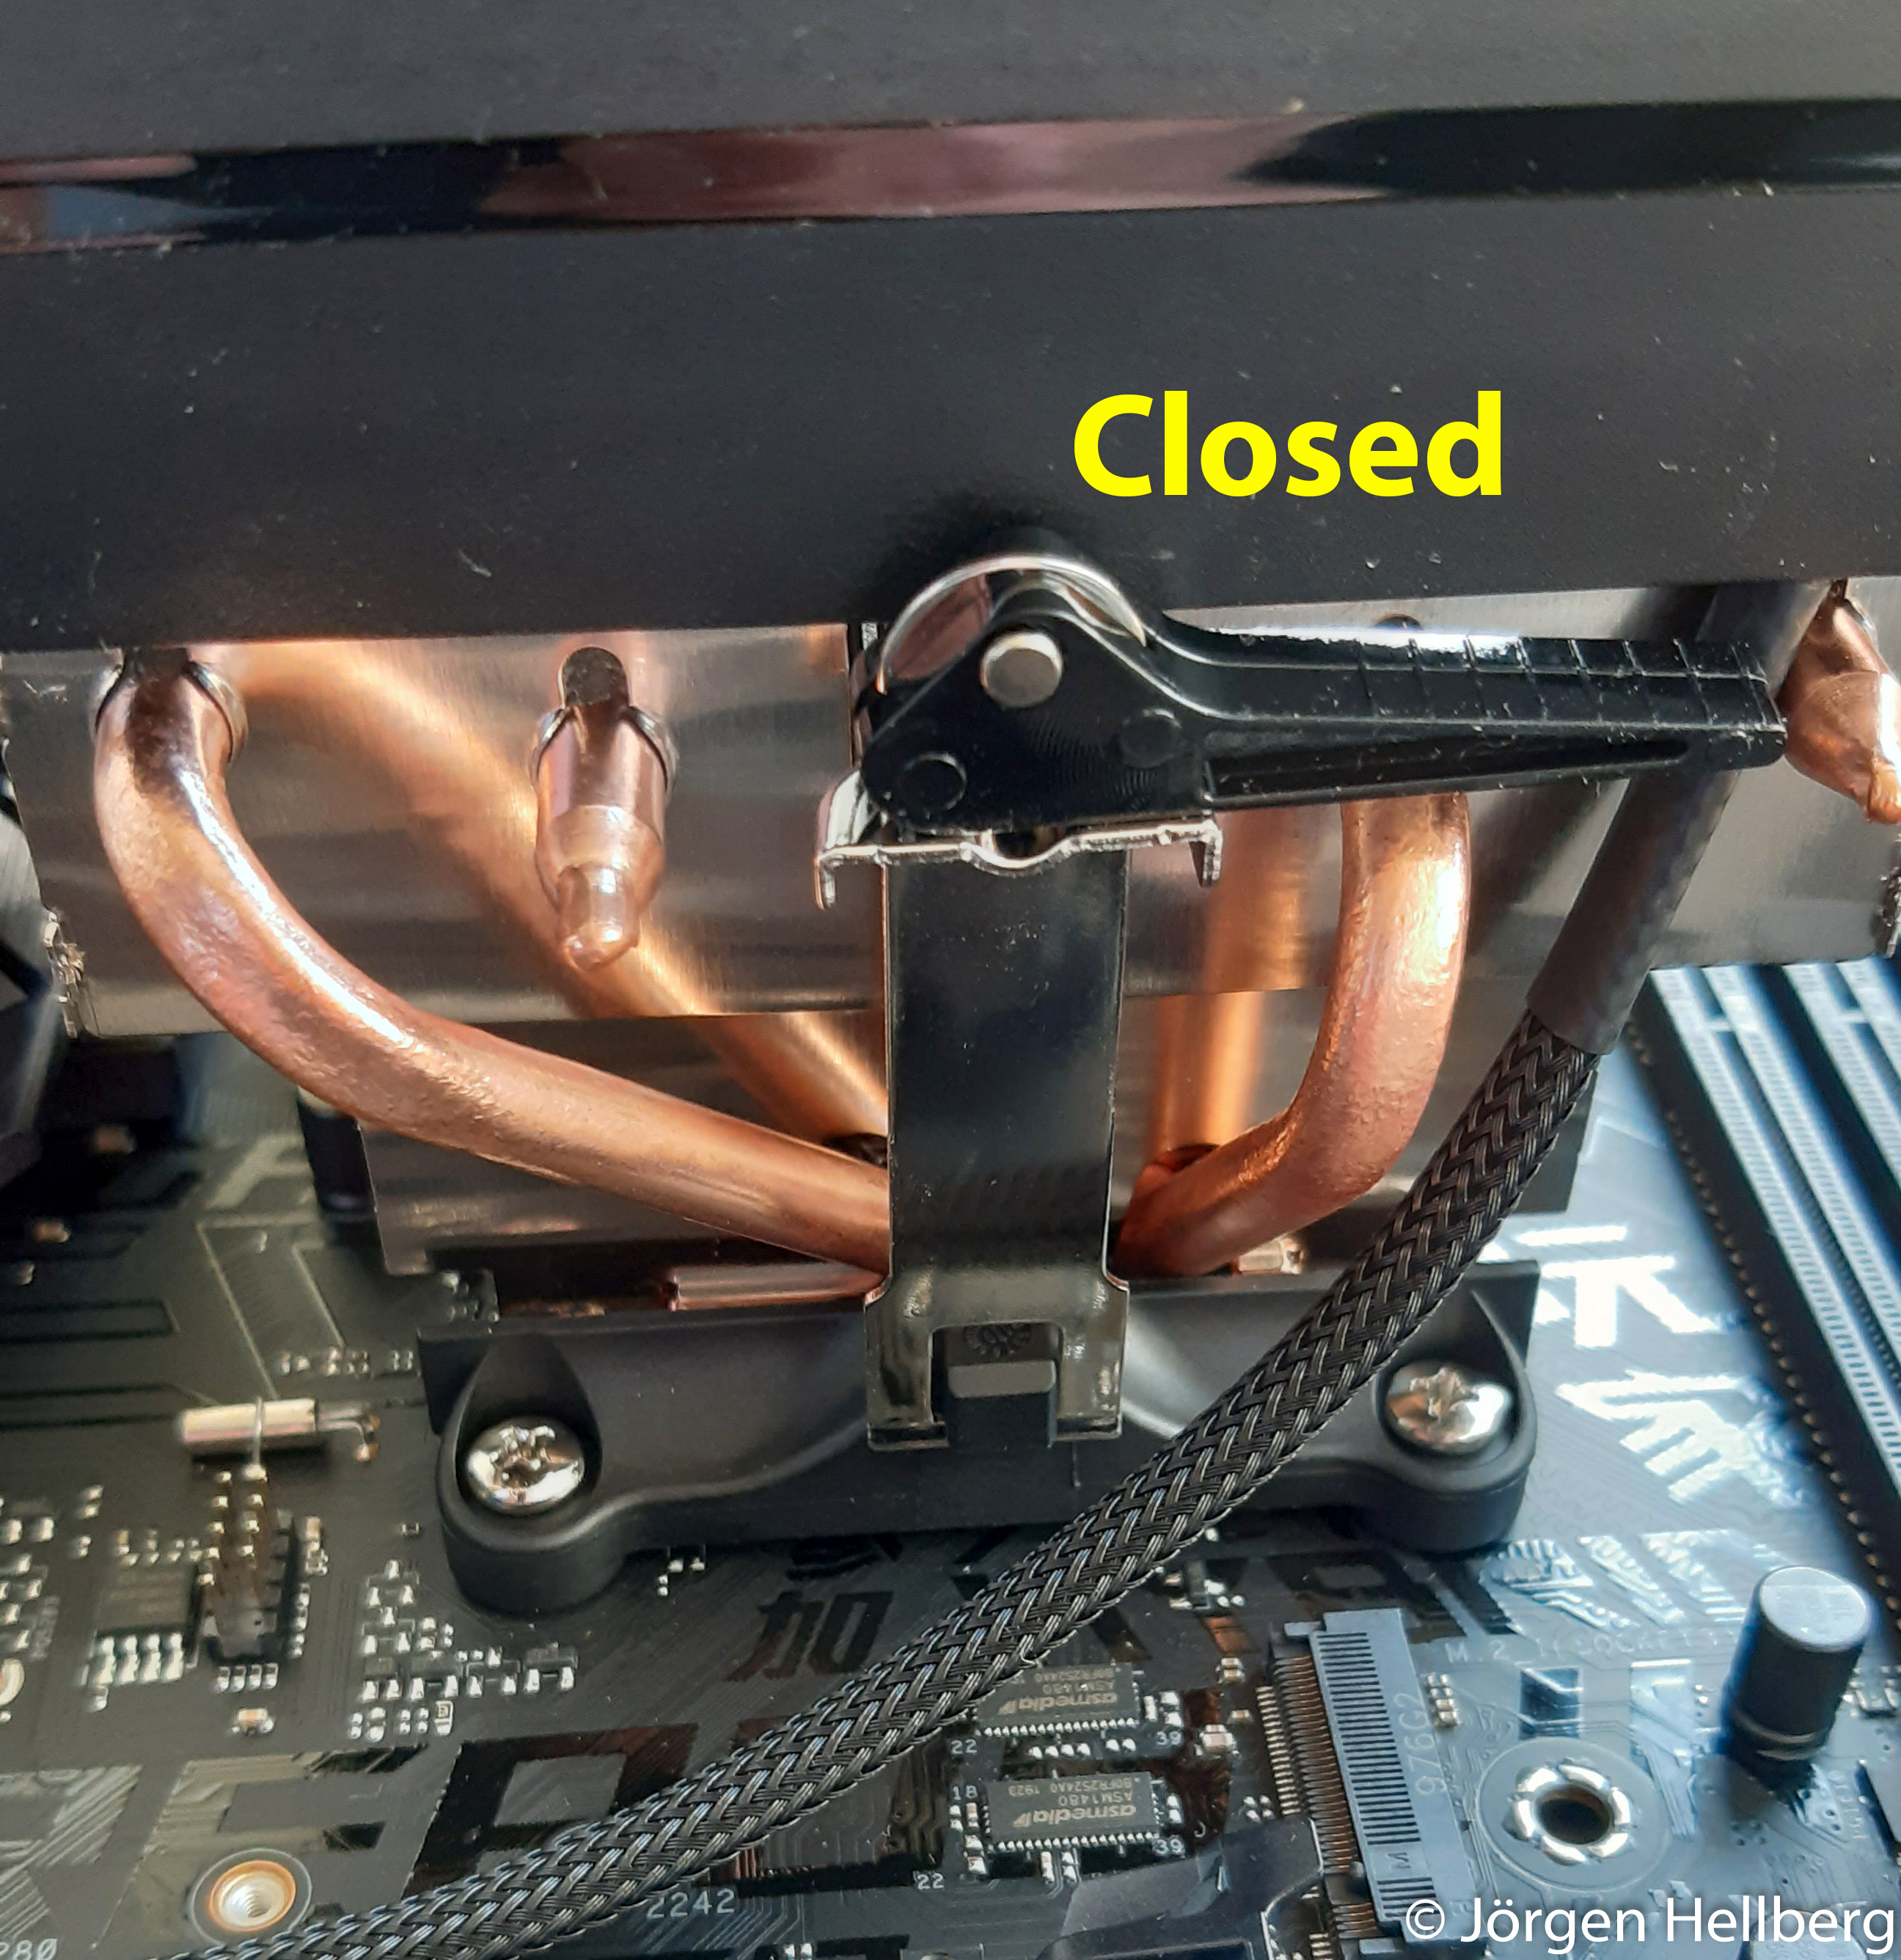
Close lever
There are two connections covered with rubber tabs. Under them are the connections to control the RGB light in the fan. I choose to use the left connection RGB and use the corresponding pinns on the board.
Attaching the cooler is the most critical part – not to make a cooler paste mess. After the cooler I installed the PCIe SSD
Installing Kingston’s PCIe SSD
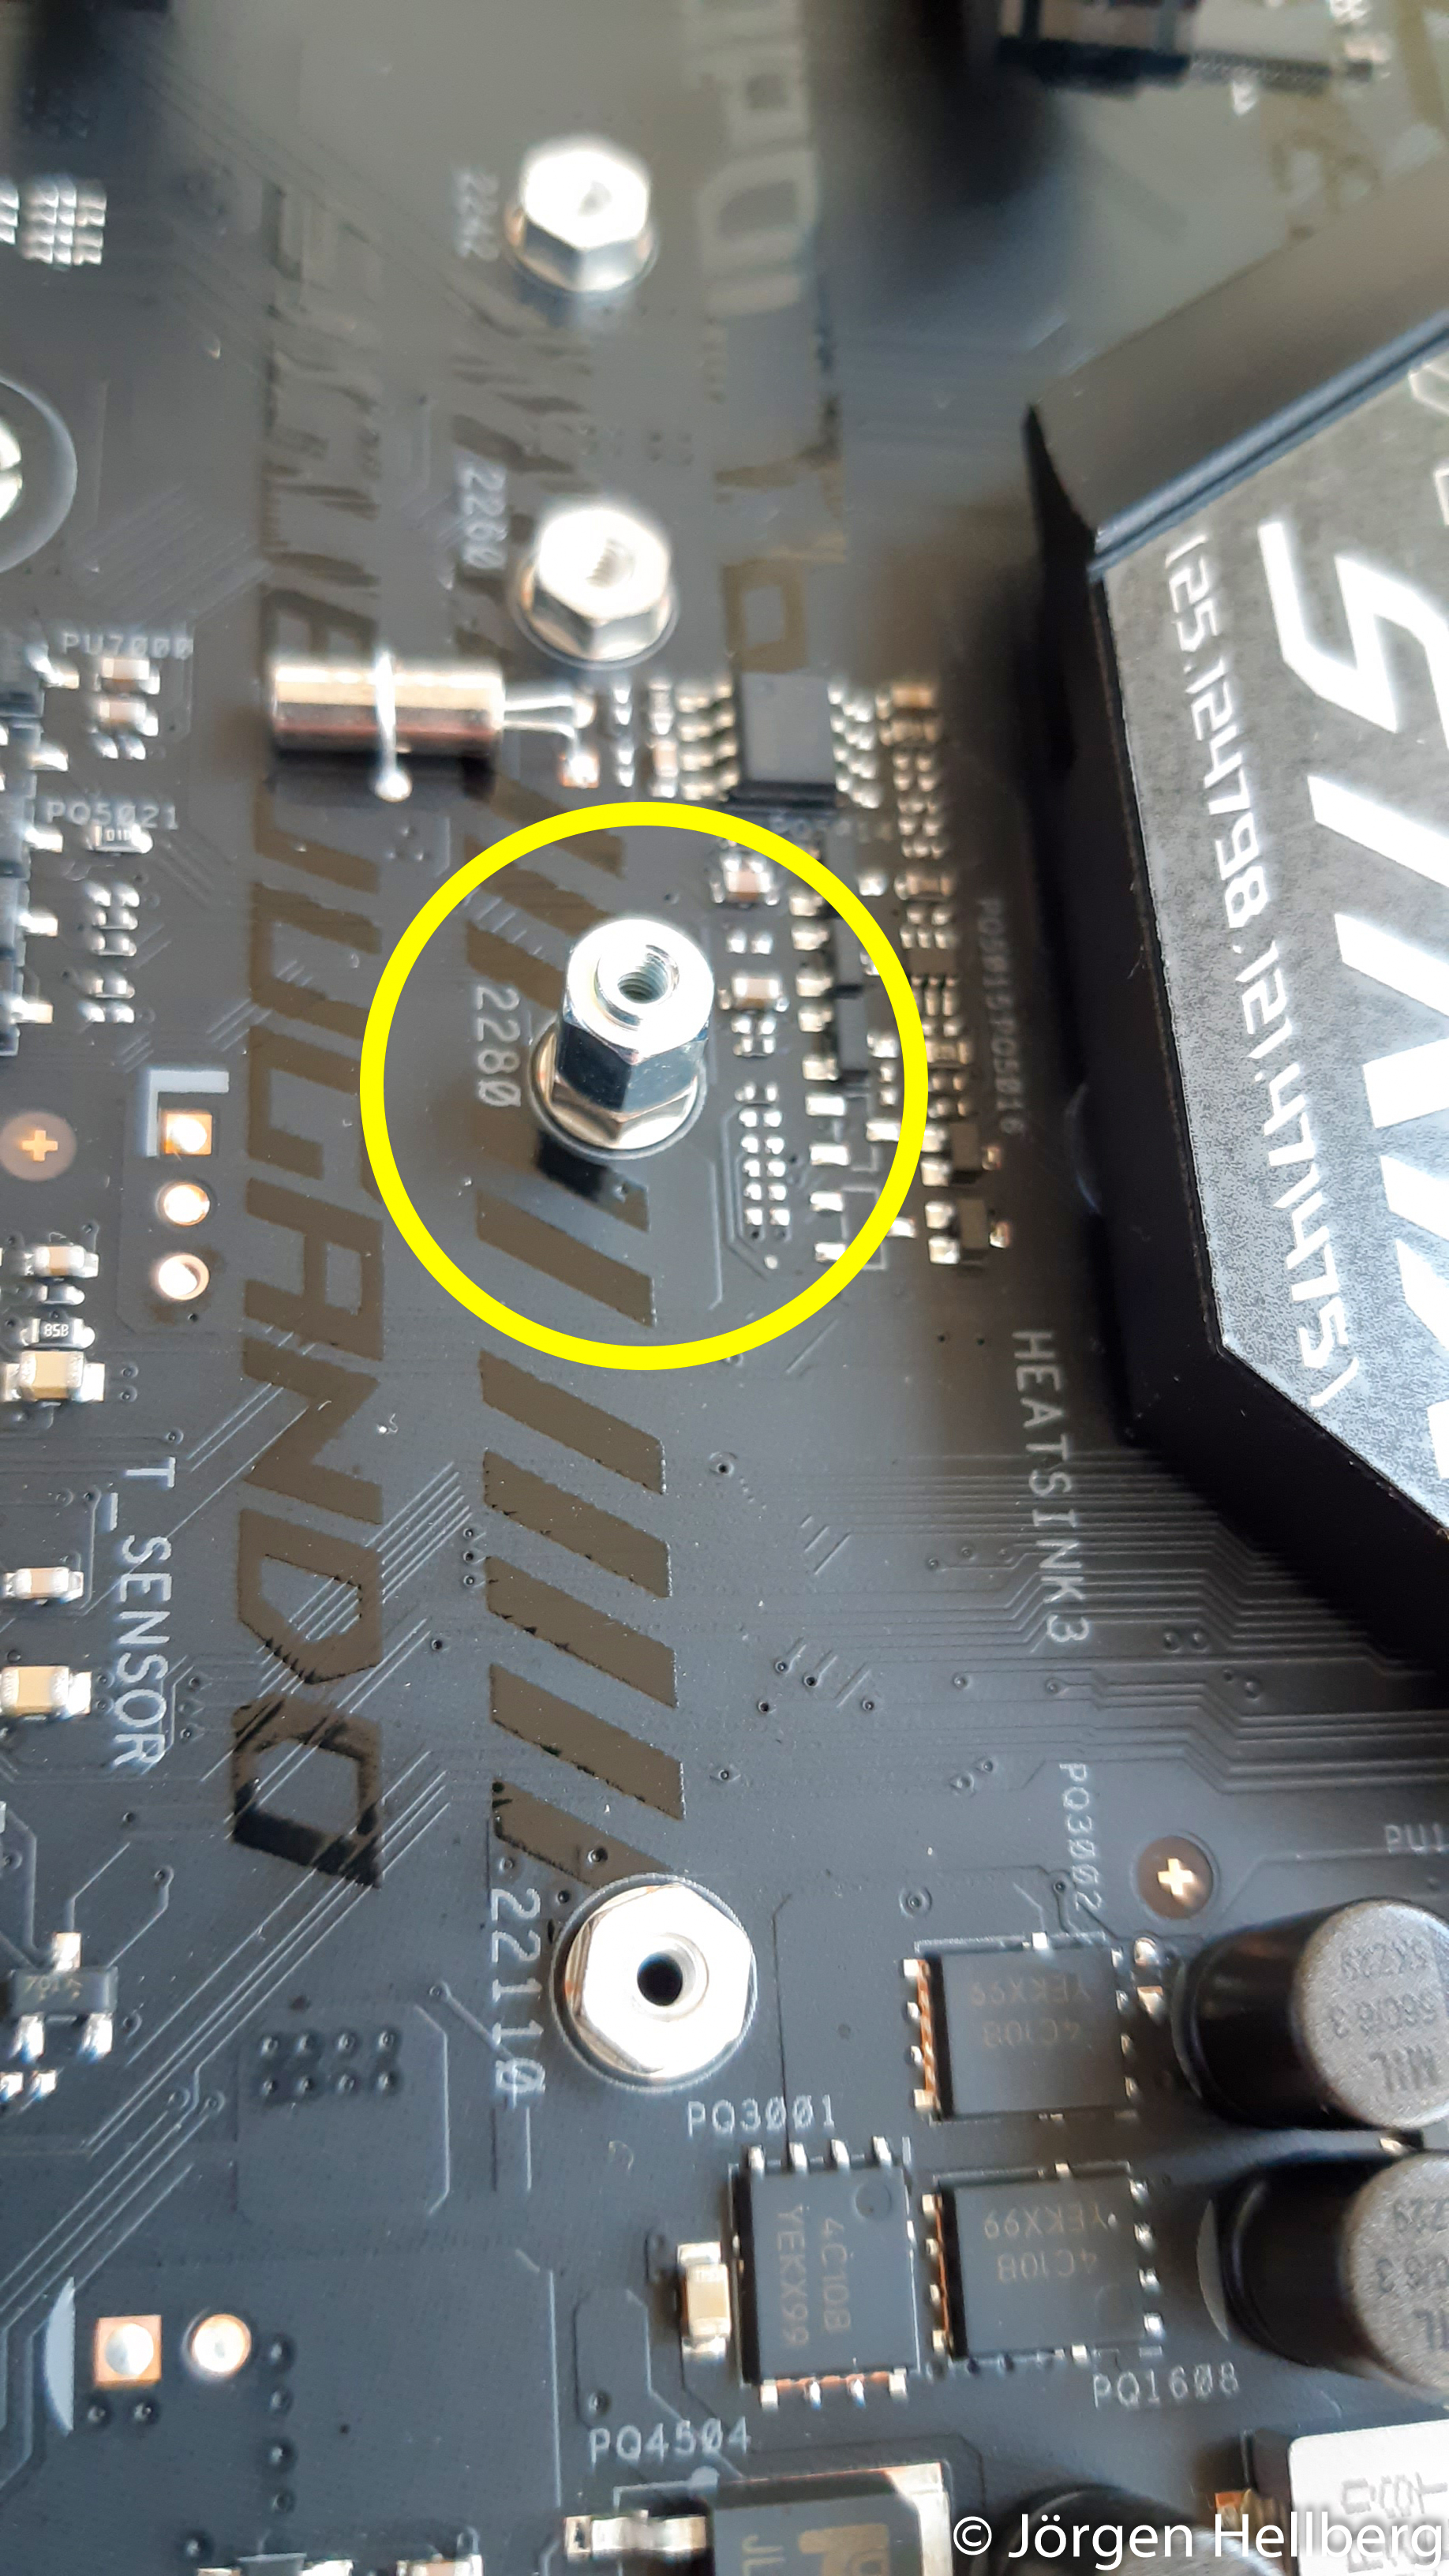
Installing the PCIe SSD is quite straightforward, the only thing to note is that the motherboard comes with two different sets for attaching the PCIe SSD. A shorter set for the port near the processor and a higher set for the port near the bottom of the motherboard. A tip from my own experience is to mount both sets of screws even if you only install one PCIe SSD at first, then you do not have to look for the screws when you need them if you decide to install another PCIe SSD in the future.
The result, more speed and some colour
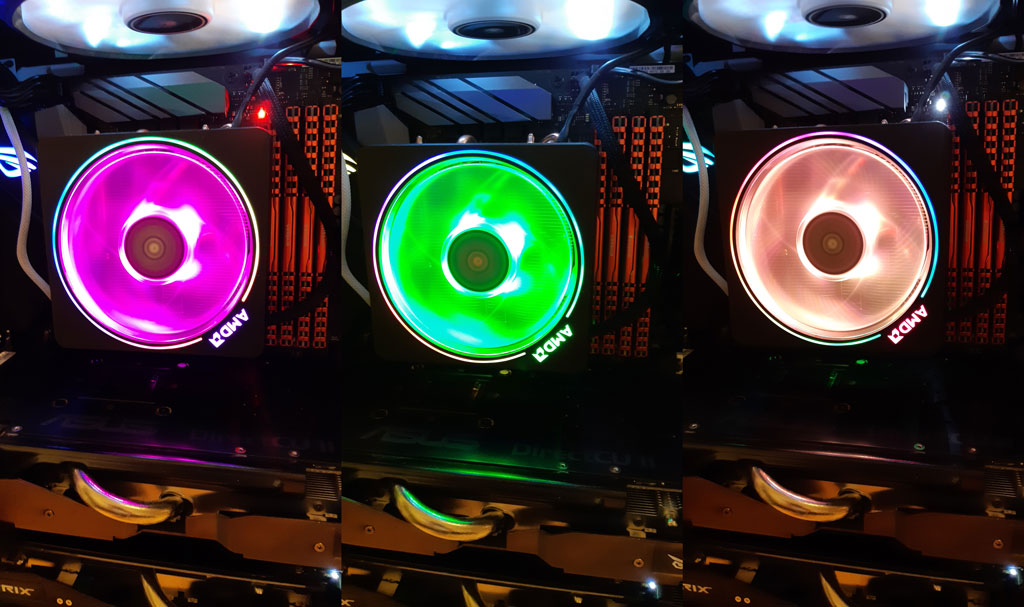
Installing the components was quite easy. The extra speed with this processor and hard drive compared to my previous processor and hard drive is nice, the changing RGB light on the cooler fan is probably more for gamers than for me.


